

Polishing aluminum engine parts can bring back the bright, clean appearance that gets lost under oxidation, oil residue, dirt, and years of heat exposure. The process starts with thorough cleaning, followed by inspection, oxidation removal, polishing, and buffing. The most important part is knowing what type of aluminum finish you are working with before applying an abrasive product.
Bare aluminum can respond very well to polishing, but painted, anodized, or clear-coated parts require a different approach. If you polish a protected surface as though it were bare metal, you could damage the finish instead of improving it.
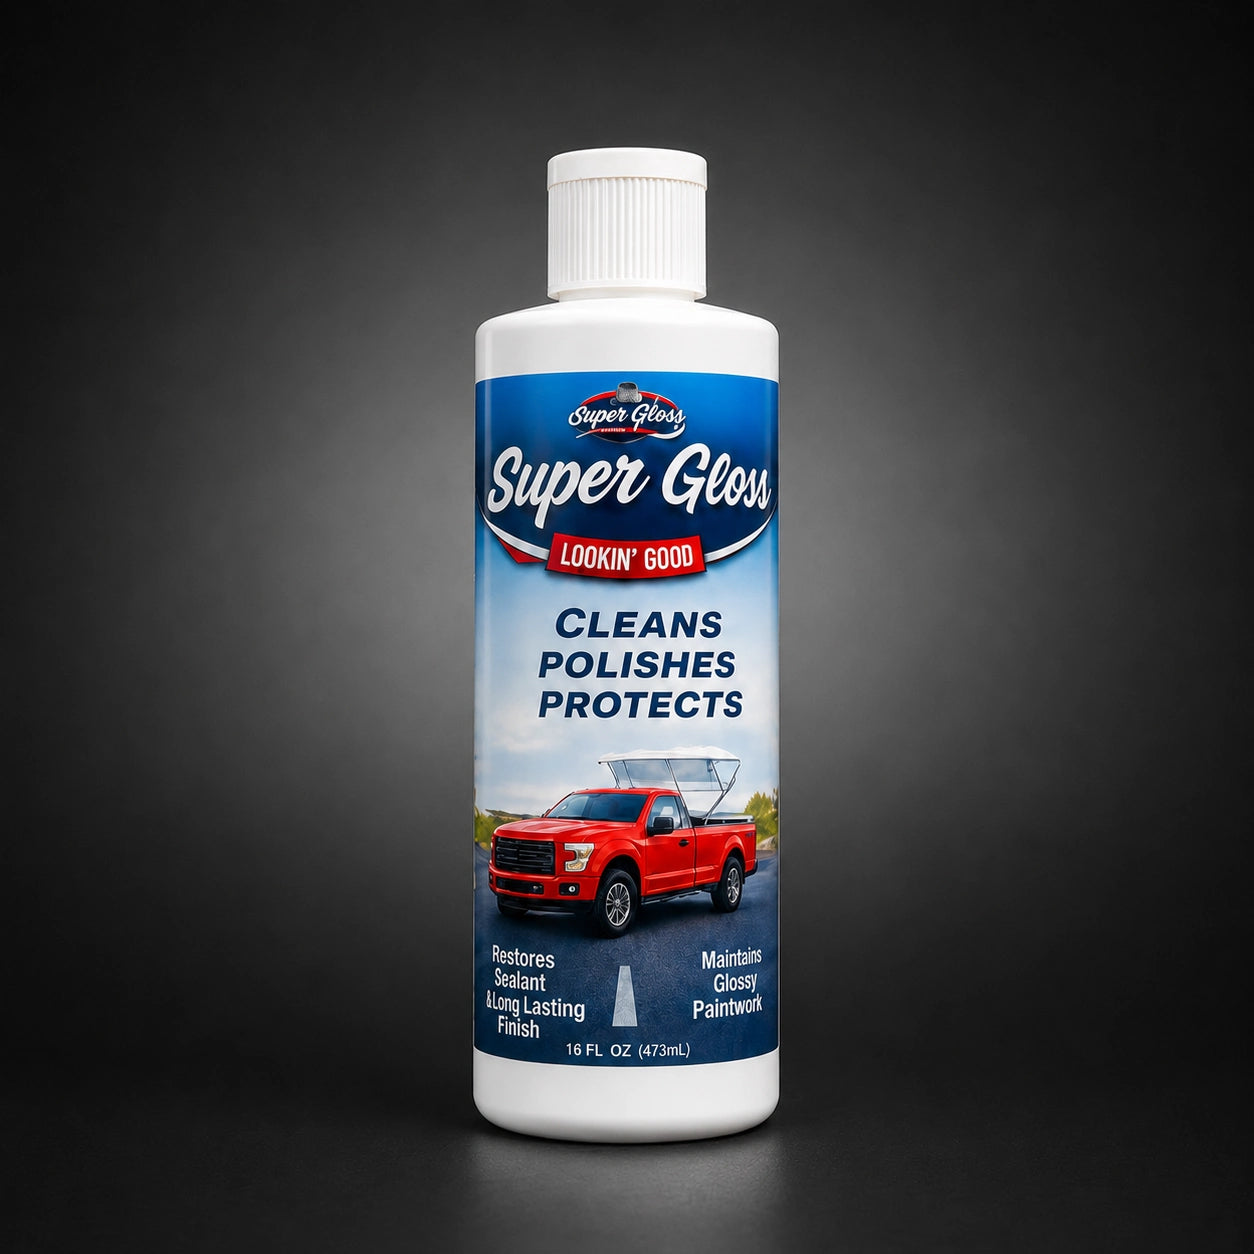
One Polish. Multiple Surfaces.
Skip the need for separate detailing products. Super Gloss combines cleaning, polishing, shining, and sealing in one multi-surface formula.
With the right preparation and a controlled technique, you can restore many aluminum engine components without relying on aggressive methods.
Why Aluminum Engine Parts Lose Their Shine
Aluminum naturally develops a thin oxide layer when exposed to oxygen. On engine components, the process can be accelerated by heat, moisture, road grime, oil, dirt, and other contaminants.
An engine part that was once bright and reflective may gradually develop a cloudy, gray, or uneven appearance. Cast aluminum can also have a naturally textured finish that looks different from highly polished billet aluminum.
Common signs that an aluminum part needs attention include:
- Dull or cloudy appearance
- White or gray oxidation
- Oil and grease buildup
- Light staining
- Minor surface scratches
- Uneven reflection
Polishing can improve the appearance of oxidation and minor surface imperfections, but it cannot repair serious pitting, cracks, gouges, or structural damage.
First, Identify the Aluminum Finish
Before applying any polish, determine whether you are working with bare aluminum.
Some engine components may have a clear coat, paint, anodizing, plating, or another protective finish. These surfaces should not automatically be treated like bare aluminum.
A recent Super Gloss guide on polishing aluminum motorcycle parts recommends checking for clear-coated, painted, or anodized surfaces before polishing because the treatment required can differ significantly.
If you are unsure, test a small, hidden area first. Stop if the finish becomes cloudy, discolored, or damaged.
For valuable or specialty engine components, check the manufacturer's recommendations before using an abrasive product.
Gather Your Supplies
You do not need a complicated collection of equipment for basic aluminum polishing.
You will generally need:
- Mild automotive or engine-safe cleaner
- Degreaser for heavy oil buildup
- Clean microfiber towels
- Soft detailing brushes
- Aluminum or metal polish
- Foam applicator pads
- Buffing pads or wheels for larger jobs
- Protective gloves
- Eye protection
If the aluminum has heavier oxidation, you may also need wet/dry sandpaper in progressively finer grits.
The product you choose should match the surface. A multi purpose polish can be useful when you need one product for several compatible metal surfaces, while a chrome and aluminum polish may be appropriate when the manufacturer specifically identifies both materials as compatible.
Grandpa Bosch's Super Gloss is marketed as an all-in-one polish and cleaner for aluminum, chrome, cast iron, and other metal surfaces. The manufacturer also lists engine components among its intended applications.
Step 1: Let the Engine Cool Completely
Never start polishing engine components while they are hot.
If the vehicle has recently been running, allow the engine and surrounding parts to cool completely. Hot metal can cause cleaning and polishing products to dry too quickly, making them harder to work with.
Super Gloss specifically recommends applying its product to a cool, dry surface.
Cooling the engine also makes the cleaning process safer and gives you better control while working around tight spaces.
Step 2: Remove Oil and Grease
Cleaning is the foundation of a good polishing job.
Engine components can collect oil, grease, dust, road film, and other contaminants. If you begin polishing before removing them, you can spread the contamination across the aluminum.
Apply an appropriate degreaser or engine-safe cleaner to areas with heavy buildup. Use a soft brush to work around grooves, edges, bolts, fins, and other difficult areas.
Rinse or wipe away the cleaner according to its instructions, then dry the component thoroughly with a clean microfiber towel.
Do not use excessive pressure with a brush. Hard bristles or abrasive cleaning tools can leave marks on softer aluminum.
Step 3: Inspect the Surface
Once the component is clean and dry, inspect it under good lighting.
Determine whether you are dealing with simple dullness, light oxidation, moderate oxidation, scratches, or deeper corrosion.
This determines how aggressive your next step needs to be.
If the surface has only light oxidation, polishing may be enough. If the oxidation is heavy, you may need to remove the damaged surface gradually with fine abrasives before polishing.
The general rule is simple: start with the least aggressive method that can produce the desired result.
Step 4: Remove Heavy Oxidation Carefully
Light oxidation can often be handled with metal polish. Heavier oxidation may require wet sanding before polishing.
If sanding is necessary, start with an appropriate fine grit rather than immediately using a coarse abrasive. Keep the surface wet and work evenly across the affected area.
For example, Super Gloss's guidance for heavily oxidized aluminum motorcycle components recommends progressing through suitable abrasive stages before moving to the polishing stage.
The objective is to remove oxidation and surface defects without creating deeper scratches that require additional correction.
Keep checking your progress. If the oxidation disappears and the surface becomes uniformly smooth, move to a finer stage rather than continuing with the same abrasive.
Step 5: Apply Aluminum Polish
Once the surface is clean, smooth, and free of sanding residue, apply the appropriate metal polish.
Use a small amount on a clean microfiber cloth, foam applicator, or polishing pad. Work on a small section at a time.
Spread the polish evenly using controlled circular or back-and-forth movements. Use light pressure and allow the product to do the work.
Grandpa Bosch's Super Gloss instructions recommend applying a small amount with a microfiber cloth to a clean, dry surface, allowing it to set for approximately 15 to 30 minutes, and then buffing it clean.
Always follow the directions for the specific polish you are using because working times and application methods can differ.
Step 6: Buff the Aluminum
After the polish has been worked into the surface or reached the recommended setting time, use a clean microfiber towel to buff away the residue.
Turn the towel regularly so that you are not repeatedly rubbing residue back over the metal.
For larger removable components, a buffing wheel or polishing machine can speed up the process. However, machine polishing requires additional care because excessive pressure or prolonged contact can generate heat and remove more material than intended.
Keep the pad moving and avoid concentrating on one small area for too long.
Hand polishing may take longer, but it gives you excellent control over smaller engine parts and detailed areas.
Step 7: Inspect the Finish
After buffing, inspect the aluminum from several angles.
A properly polished surface should have a more uniform appearance, improved clarity, and greater reflectivity. If dull areas remain, determine whether they are oxidation, deeper scratches, casting texture, or another type of surface defect.
Do not immediately increase pressure just because one area is not as shiny as another.
Some cast aluminum engine parts are manufactured with a textured or satin appearance. Trying to turn every textured component into a mirror finish may require substantial material removal and may not be appropriate for the part.
What About Deep Scratches and Pitting?
Polishing can improve the appearance of light scratches and oxidation, but deep scratches and corrosion require more correction.
If a scratch can be felt easily with your fingernail, polishing alone may not remove it. Removing a deep defect may require sanding the surrounding aluminum until the surface is level.
That process removes material, so it should be approached carefully.
Deep pitting is even more difficult. Aggressive polishing may make the surface shinier while leaving the underlying pits visible.
For valuable, rare, or difficult-to-replace engine parts, professional metal restoration may be a better choice than attempting aggressive correction at home.
Can You Polish Aluminum Engine Parts by Hand?
Yes. Hand polishing is particularly practical for small engine covers, brackets, housings, trim pieces, and other removable components.
The advantage is control. You can work around corners and detailed areas without generating the same amount of heat that can occur with a machine.
The disadvantage is time. Large surfaces require more effort, particularly when oxidation is extensive.
For routine maintenance, hand polishing can be enough to keep previously restored aluminium looking clean and bright.
When Should You Use a Machine?
Machine polishing makes sense when you are working with larger, relatively flat aluminum surfaces or restoring several components.
A polishing wheel can produce a consistent finish quickly, but it also requires more experience. Excessive pressure can generate heat and create uneven results.
If you are new to machine polishing, practice on an inexpensive aluminum component before working on an important engine part.
Use the lowest effective speed and avoid holding the pad against one location for too long.
Protect the Aluminum After Polishing
Freshly polished bare aluminum can begin developing oxidation again because the metal remains exposed to air and moisture.
Protection can help slow that process.
After polishing, wipe the component thoroughly to remove residue. Depending on the application and the product manufacturer's instructions, you can then apply a suitable protective sealant or coating.
Super Gloss describes its formula as both a polish and protective glossy sealant, designed to restore brilliance while leaving a protective finish on compatible metal surfaces.
Protection does not eliminate the need for maintenance. Engine components remain exposed to heat, moisture, dirt, and other contaminants, so periodic cleaning is still important.
Common Mistakes to Avoid
One of the biggest mistakes is polishing without cleaning first. Dirt and grit can become trapped between the applicator and aluminum, creating scratches.
Another mistake is using too much pressure. Aluminum does not need brute force to become shiny. Excessive pressure can create uneven areas or unnecessary material removal.
Avoid polishing hot engine components. Also avoid using a product without checking whether it is compatible with the specific finish.
Finally, do not assume every aluminum engine part should have a mirror finish. Some components are intentionally textured, coated, anodized, or otherwise finished for a specific appearance or function.
How to Maintain Polished Aluminum Engine Parts
Once you have restored the finish, regular maintenance is easier than repeating a complete restoration.
Clean exposed aluminum periodically to prevent oil, dirt, and road contaminants from accumulating. Wipe away moisture and spills rather than allowing them to sit on the metal.
Use clean microfiber towels during maintenance and avoid abrasive cleaning materials.
If the surface begins to lose some of its shine, a light polishing session may be enough. There is no need to aggressively sand the part every time it becomes slightly dull.
The less material you remove during routine maintenance, the easier it is to preserve the component over the long term.
Also Read: How to Buff and Wax a Boat?
Final Thoughts
Polishing aluminum engine parts is a straightforward process when you approach it in the right order. Clean the component, identify the finish, inspect the level of oxidation, use the least aggressive correction method necessary, polish in small sections, and buff with a clean microfiber towel.
The biggest mistake is treating every aluminum surface the same. Bare aluminum can usually be polished directly, while anodized, painted, and coated components require more caution.
For routine restoration and maintenance, a suitable metal polish can bring back clarity and shine without unnecessary aggressive correction. Grandpa Bosch's Super Gloss is formulated for compatible aluminum and metal surfaces and combines polishing with a protective finish.
With regular cleaning and gentle maintenance, polished aluminum engine parts can stay brighter for longer and require less intensive restoration each time you work on the vehicle.


